

How To Take Pictures With My Macbook Pro
Reading Time: 4 minutes read
There are two ways to capture images on a Mac – by using the Photo Booth app or via screenshots. In this guide, we'll cover both how to take a selfie using the camera and how to capture a screenshot.
How to take a photo on a Mac using Photo Booth
Whether you need a new profile picture or want to send a family photo to a long distance relative, it's easy to take a snap with the built-in camera on your Mac. Here's how.
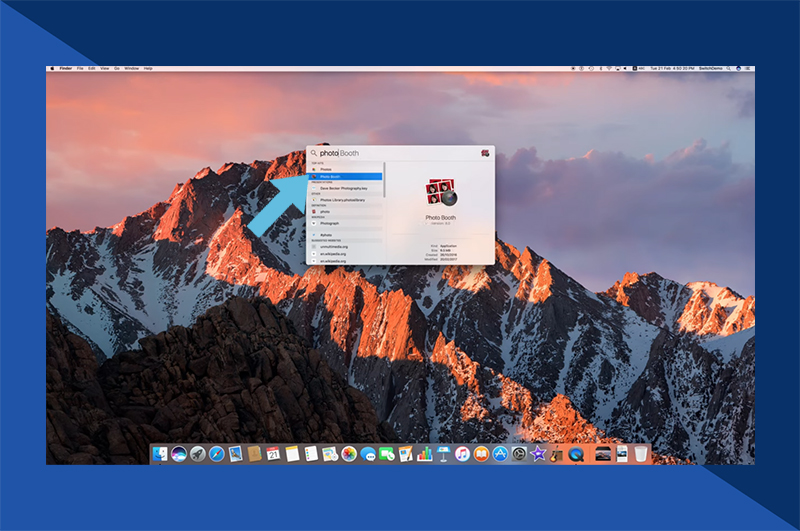
1. Open the Photo Booth app (found inside the Applications folder).
2. When you're ready, click the red camera button to start the countdown to your photo.
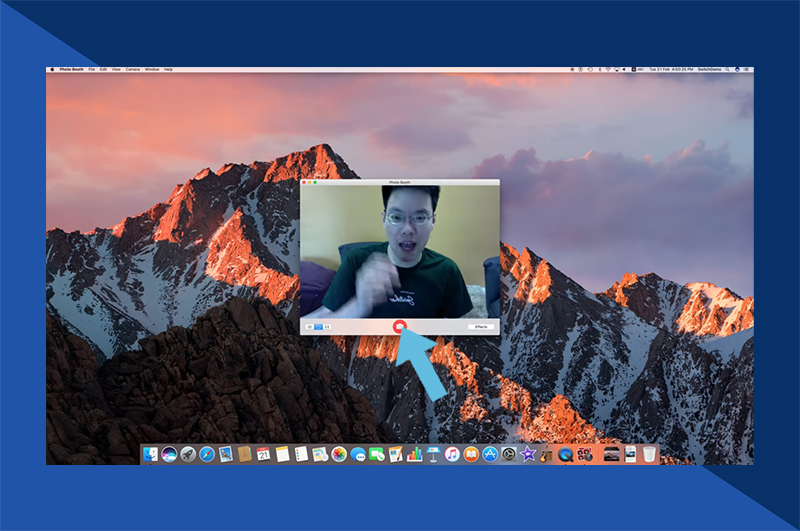
3. The screen will flash white when Photo Booth captures the image.
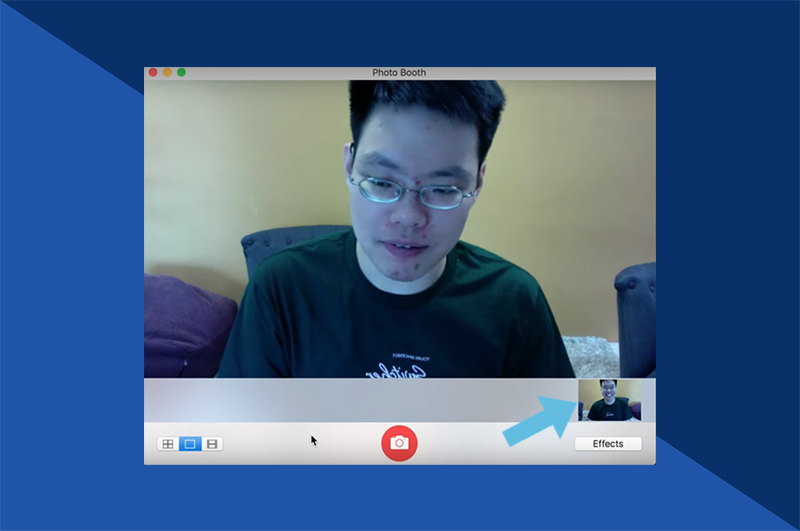
4. Click the thumbnail of the image you've just taken to save or share it.
What else can you do with Photo Booth?
Photo Booth offers additional functionality to help make sure you get the right shot. You can choose to disable the countdown timer or screen flash, for example, as well as flip your images if you'd prefer them mirrored. What's more, you can add effects to your images too, such as adjusting the colour with sepia or black-and-white filters, or distorting your image with visual effects like Fish Eye or Stretch.
How to take a photo on a Mac by screenshotting
Whether you need to take a screenshot for work, record-keeping or simply to capture an interesting moment on your computer, there are three ways to do this on a Mac.
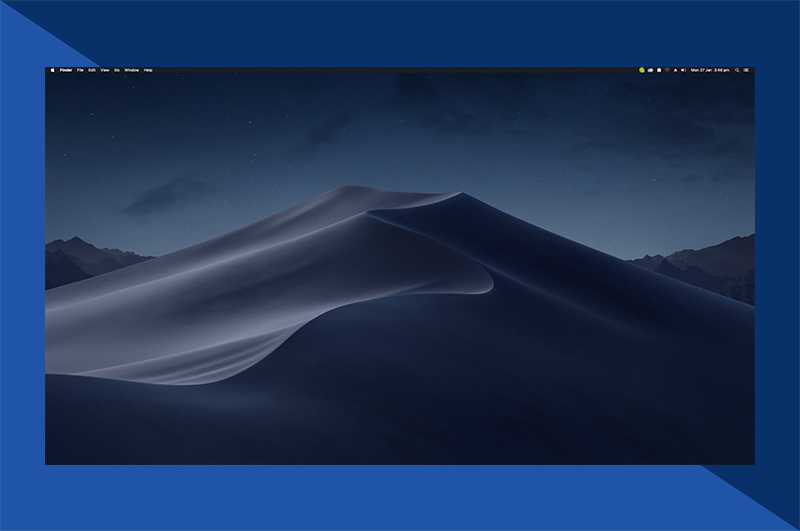
How to capture the entire screen
1. Press Shift + cmd/⌘ + 3. This will capture a screenshot of every display.
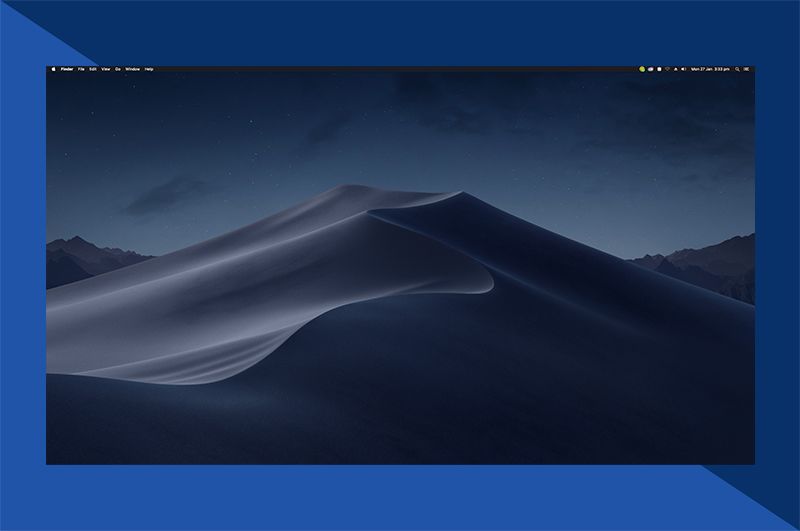
2. You can find the screenshot on your desktop.
How to capture a window
1. Press Shift + cmd/⌘ + 4.
2. Press Space (this will change the pointer to a camera).
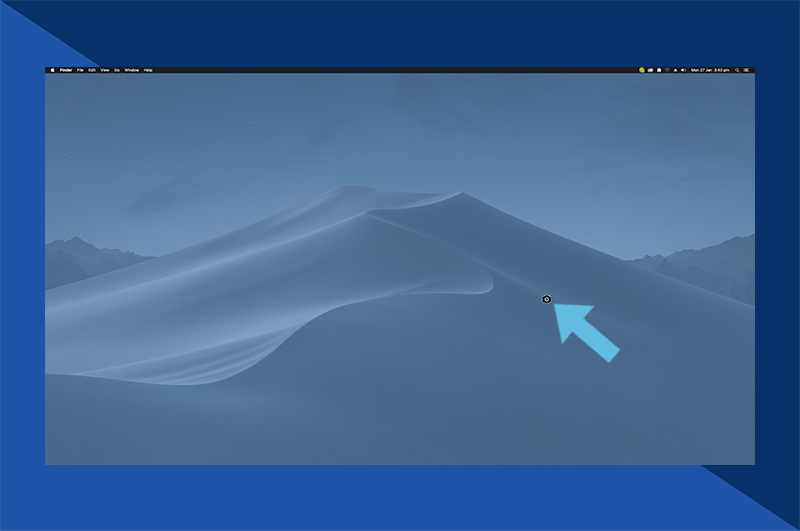
3. Click a window to capture it.
4. You can find the screenshot on your desktop.
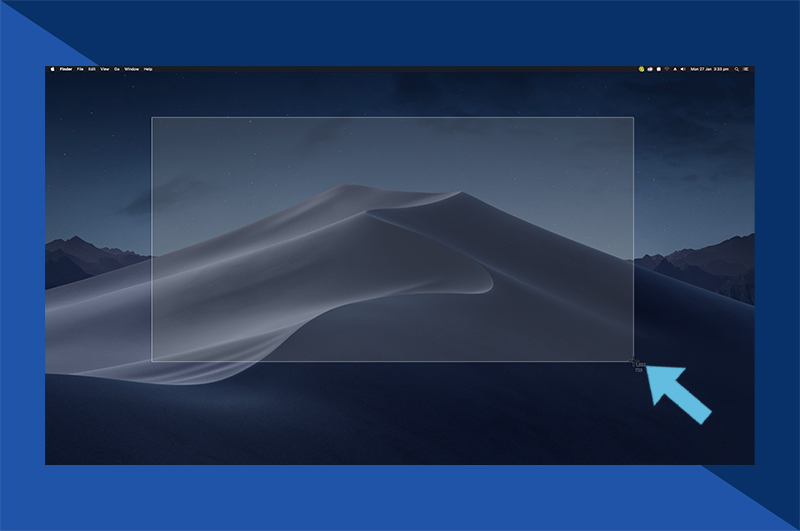
How to capture a section of the screen
1. Press Shift + cmd/⌘ + 4.
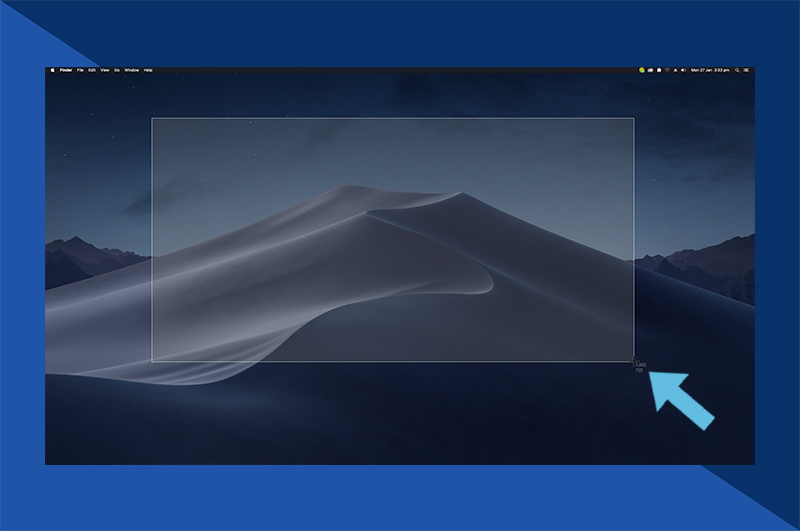
2. Click and hold your mouse over the portion of the screen you'd like to capture.
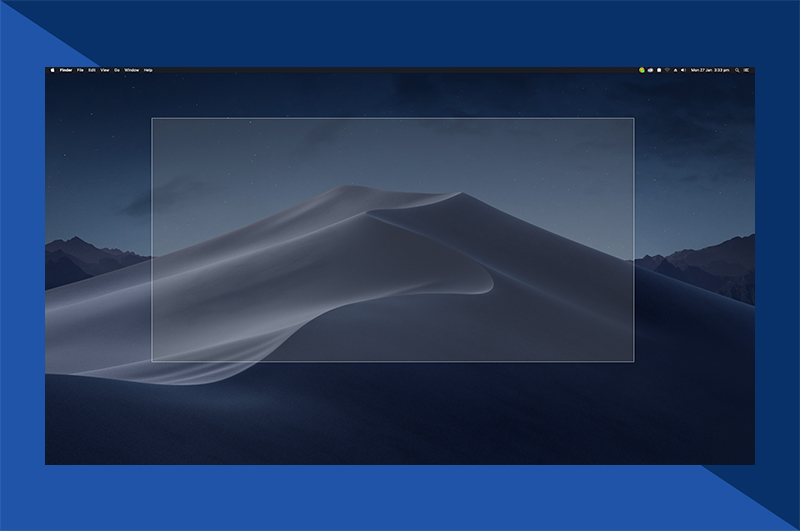
3. Capture your screenshot by releasing the mouse.

4. You can find the screenshot on your desktop.
Turn your photos into a beautiful book with Motif
Why not use the photographs from Photo Book to create a beautiful memory book with Motif? With over 80 personalized layouts and the option to choose backgrounds and sizes that suit you, a photo book is a great way to celebrate and share your favourite photographs with family and friends. Download the app today and give your stories a home with Motif.
Bring your photo memories to life with Motif
Experience the joy of creating personalized photo projects with Motif. Our photo book app seamlessly works with Apple Photos in macOS and iOS. It does all the complicated stuff leaving the fun creative freedom to you.
What did you think of this article?
- Author
- Recent Posts

A natural born storyteller based in NYC and the Catskills. Pairing stories with photos for safe keeping and telling.
How To Take Pictures With My Macbook Pro
Posted by: paytonthestive.blogspot.com
Source: https://www.blog.motifphotos.com/how-to-take-a-photo-on-a-mac/
0 Response to "How To Take Pictures With My Macbook Pro"
Post a Comment